Sorry to leave you all hanging for so long. I have been working on the trailer, but I have been too busy to post. I have been working on the wiring, both 110 volt and 12 volt.
When I pulled the power cord from the trailer a month ago, one of the brass blades broke off and came with it. Better now than in camp; it would be a pain to have to hard wire a cord in the campground. I just pulled the whole unit and scrapped it. It was pretty crusty anyway. Don’t worry; I put it in a box for you purists out there. The water fill got a little beat up during removal before paint and the bowl was damaged, so it went in the box too. The lid I sold to somebody on one of the Shasta groups for $20, so a little money went back into the Shasta kitty. I bought two round metal electrical plates at Lowe’s for about $1 each. These I painted to match and screwed on with a little putty tape for weather proofing.
The water inlet is city water only and comes out underneath courtesy of one of the two previous owners. It works and saves me paying $15 for a cheap plastic inlet or mucho dinero for a fancy metal one.
When it came time to do a new power inlet, I just couldn’t justify the cost of a Marinco, so I got creative. I wanted a couple waterproof outlets under the trailer for various things (radio, air pump, fan, etc.), so I wired in a couple boxes underneath using heavy-duty 12/3 extension cord.
I wanted the heavy jacket of the cord and the flexibility of the stranded wire. I also wired in two boxes inside the trailer, one in the wardrobe where the microwave sits above the fridge, and one under the dinette.
So now the camper has eight grounded outlets, assuming I have a grounded outlet to plug into. For a power source I created a double male power cord. Now I just plug one end into the waterproof outlet and the other into the power source. The key is to plug the cord into the camper first so I don’t accidentally shock myself. I will use a small bungee to keep the cord from coming unplugged. The waterproof outlets were $10 each, the cords were on sale for $15 each, and the additional interior outlets were about $2 each at Lowe’s.
For a 12-volt power source I was going to use an old computer power supply, but I was at my favorite junk store the other day and picked up a 110 to 12 volt power supply normally used in home security systems for $20.
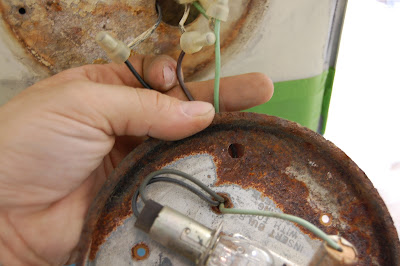
It puts out about 4 amps, which is more than enough for my Fan-Tastic fan, and a few other small lights. I wired the Fan-Tastic fan using a short length of 14/3 wire. The power supply requires a small load on its 5-volt power in order for the 12-volt power to come on, pretty much like a computer power supply. For this I just used an old 12-volt bulb, which should last pretty much forever because it is only running on 5 volts. I ran all of my wires into this box for my connections. This way my wire nuts are protected.
Here you can see the wiring before and after the additional outlets were connected to the fuse box.
The fantastic fan whirred to life and moves a lot of air through the trailer.
In the future, I will run wire for some LED lights, the light over the bunk and use it to trickle charge a 12-volt marine battery.
So, if you are following along, so far we have:
Trailer $900
Bearing Repack $100
Steel $10
Sealant $10
Fan-Tastic Fan $140
Three Sheets 1/8 Birch $50
3M Polish $18
Buffer Pad $12
Mothers Aluminum Polish $8
TSP Cleaner/Paint Prep $8
Rollers, brushes and trays $30
Frog Tape $10
Etching Primer $5
Goo Gone $3
Paint 3 Gallons $98
Foam $250
Upholstery Fabric $510
Curtain & Pillow Fabric $80
Glass $50
Glass Seal $72
Backframe Gasket $80
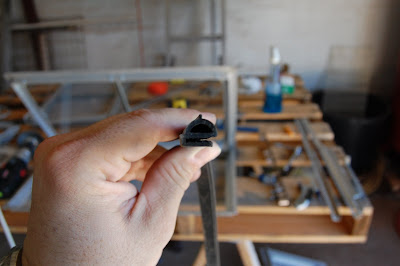
Pile Weatherstrip $6
Vinyl Weatherstrip $5
Silicone Discs $5
Butyl Tape $15
Screws $70
Chains $10
Harness $6
Teardrop Lights $20
Sway Bar $45
Metal Plates $2
Wire and Outlets $54
Power Supply $20
Water Fill Lid SOLD -$20
Bringing our tally to: $2,682
Until next time dear readers, shasta la vista...


